#107145 |
Photo Calendar
A list of printable calendar layouts with a dedicated photo area. Simply click on the image space, select a photo from your smartphone or computer, and print it using a standard home printer.
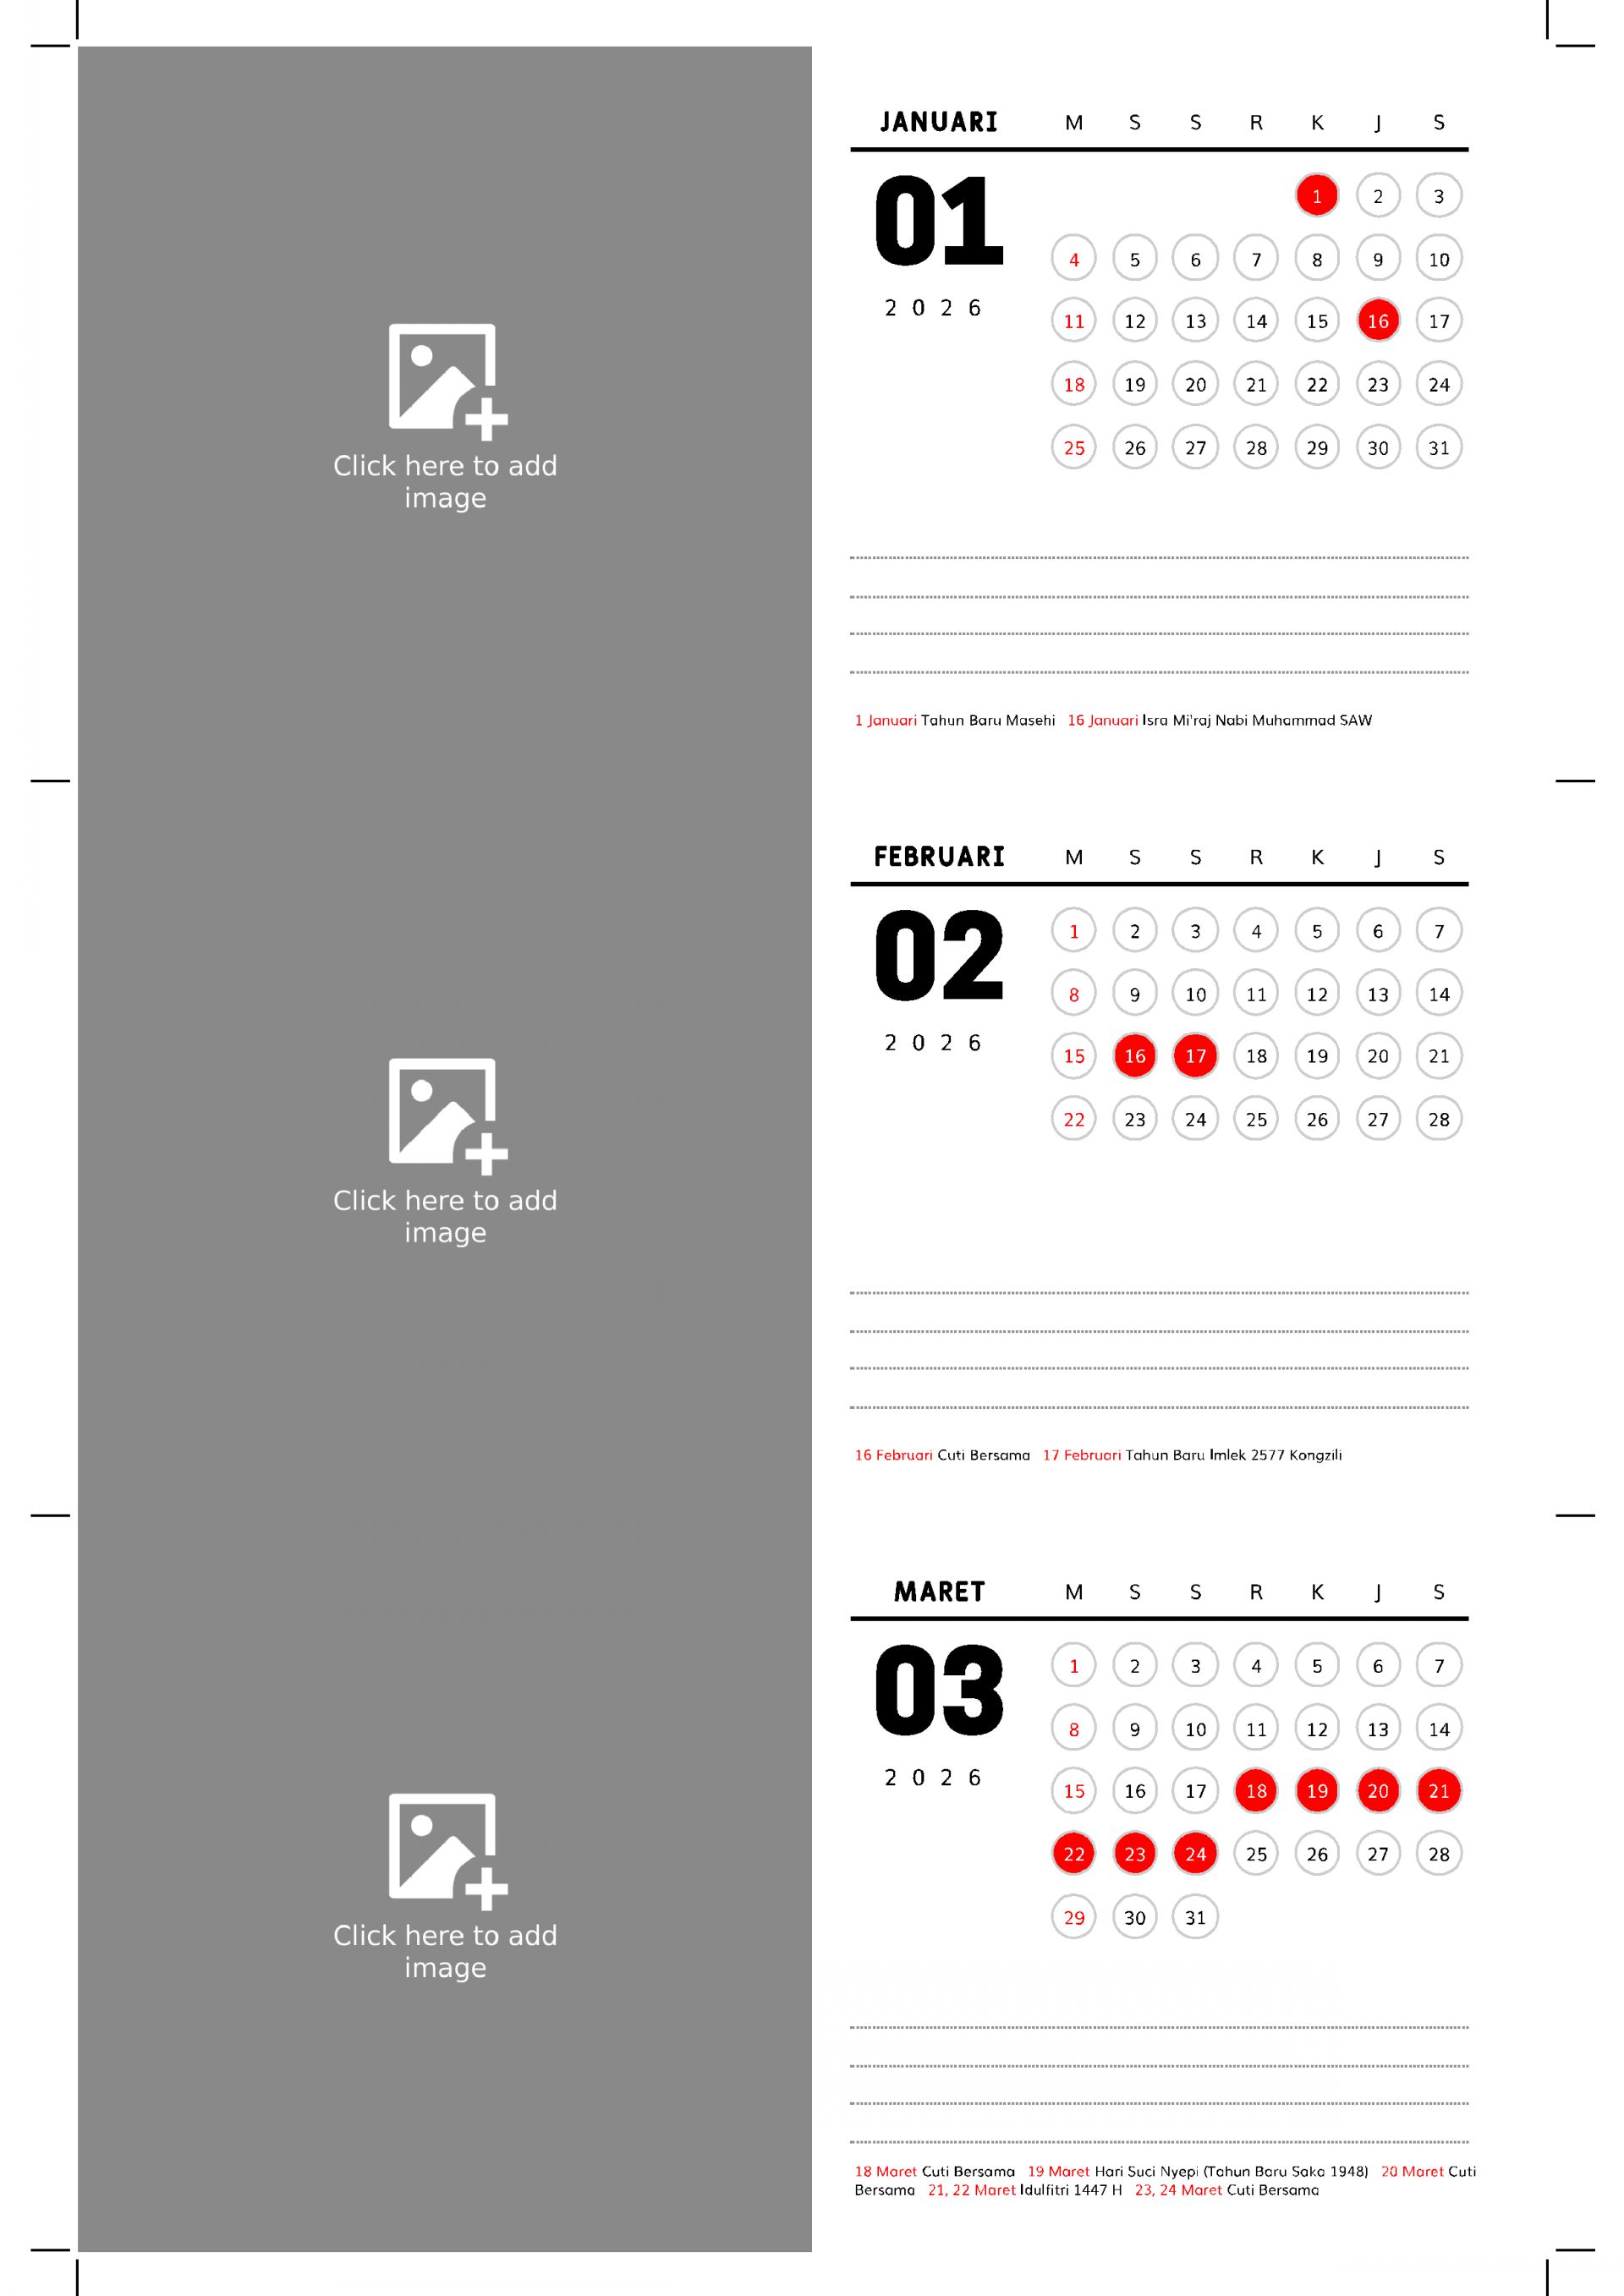
An A5-sized calendar that can be printed on various paper sizes, complete with crop marks. The top section includes a space that can be used for spiral binding.
Landscape calendar with a photo on the left and the calendar on the right. To use it, simply print it on thick, sturdy paper (at least 220gsm) and place it on a calendar stand.


This is a three-month view calendar layout (previous month, current month, and next month) specifically designed for 4R print size (10×15 cm). The top section features a personal photo or selected image, along with a to-do list, followed by a compact yet clear display of three consecutive months.

This is a layout designed to create a calendar in the size of a credit card or ID card. Despite its small size, the layout still accommodates a dedicated area for holiday descriptions.

A long-shaped calendar that can also function as a bookmark. Includes an area for images and notes.
With this printable template, you can create your own desk calendar at home with a custom photo on top and a calendar area below. The calendar section supports holidays from various countries, and you can even add your own custom events. After printing the calendar, you will need to cut it. Cut lines are provided, so you just need to follow the guide for precise and consistent results.

With this layout, you can create a square desk calendar featuring a photo area at the top. You can easily add a photo to this area by clicking it after generating the layout.
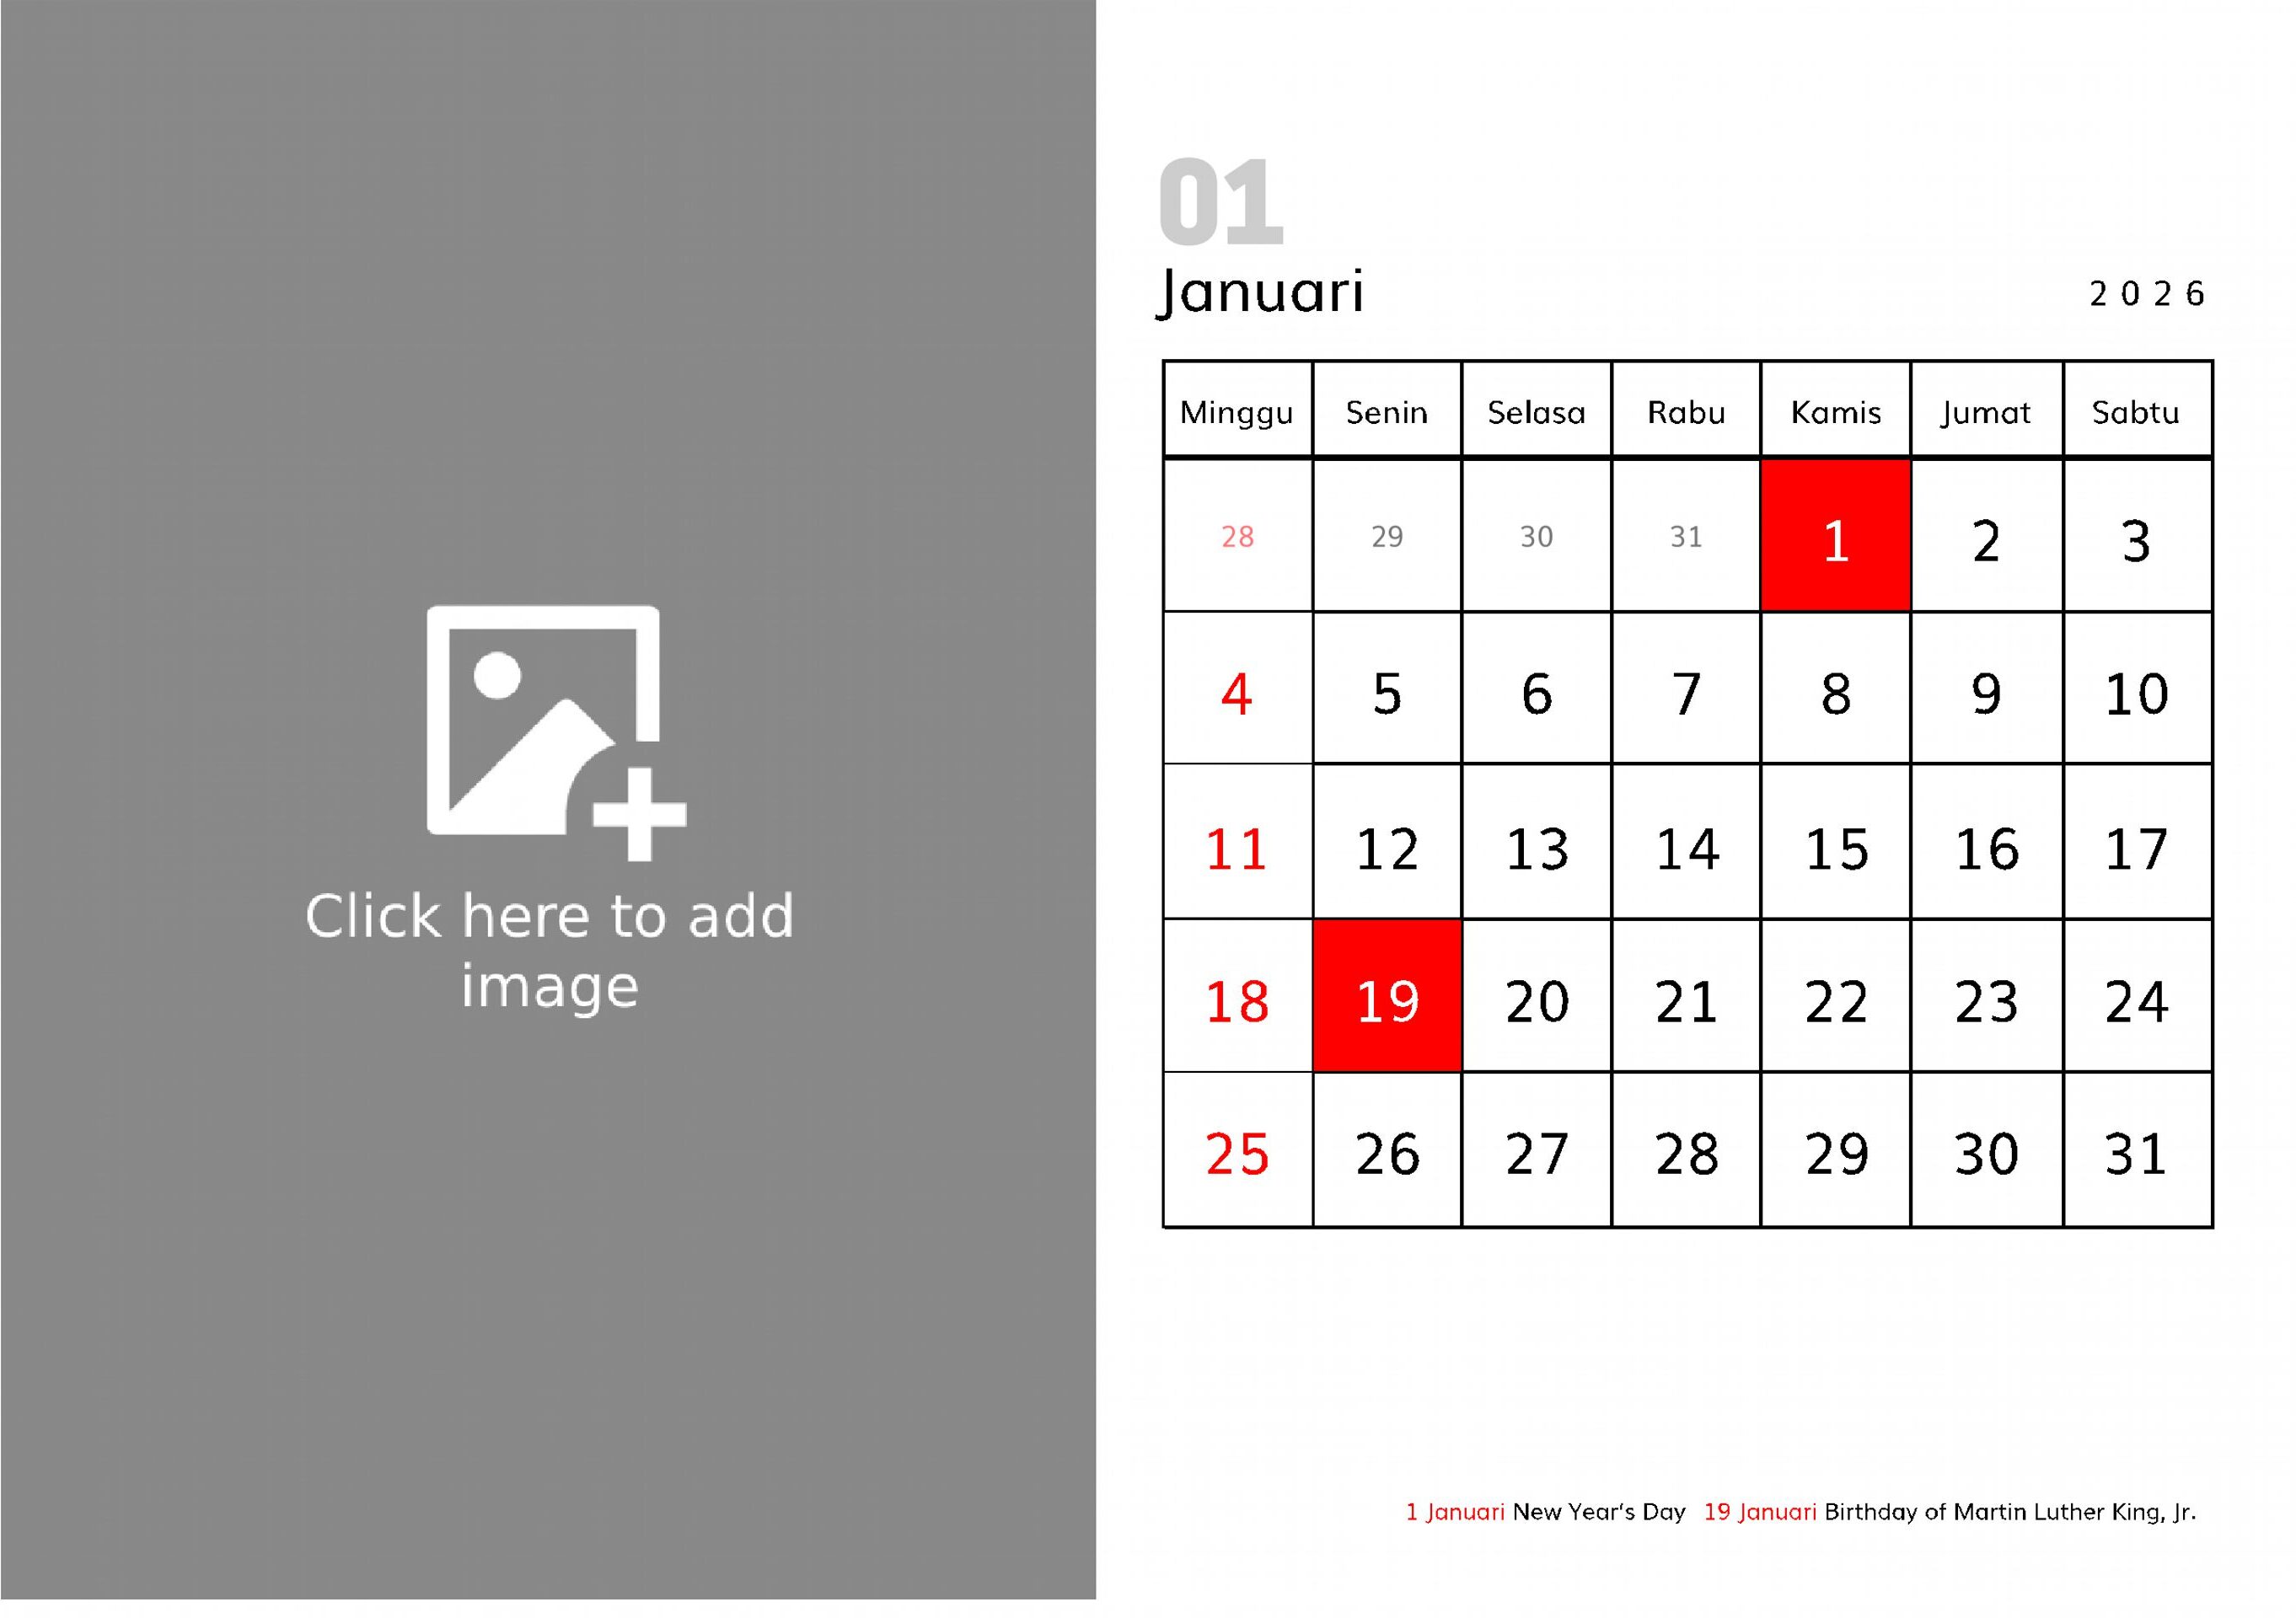
With this printable template, you can easily print a calendar featuring a large photo at the top and a notes area at the bottom. Simply select the settings option, then click the blue button below, and the system will automatically generate the calendar layout. To add a photo, just click on the photo area and upload your image. After that, simply click the print button to print it.

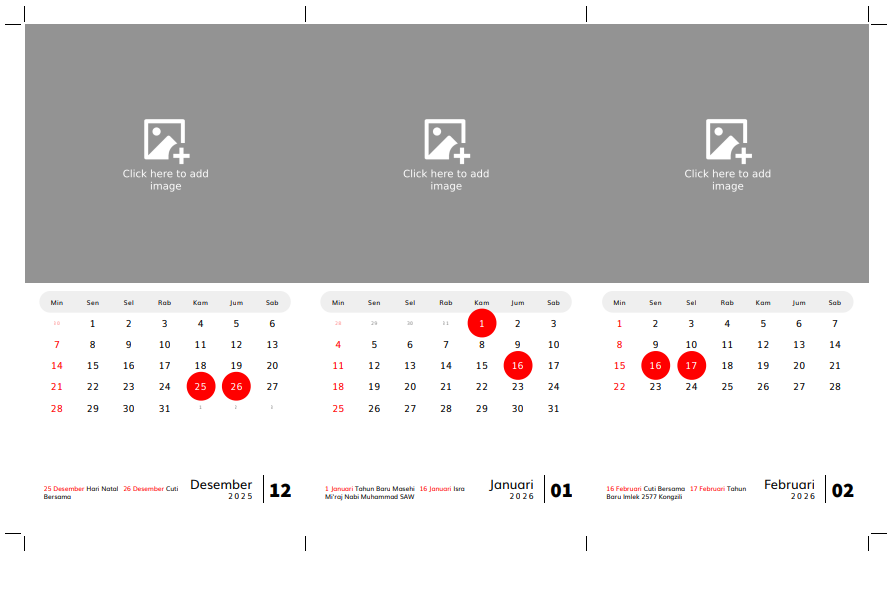
With this layout, you can easily create a two-month wall calendar per page with a custom photo display at the top. Simply fill in the options below, click the blue button, and the layout will be generated. Just add your photo by clicking the photo area and print! It’s that simple.
With this template, you can create a planner featuring a calendar table at the bottom and a custom image at the top.